Stove rope is just one of the many perishable items on your stove. Similar to the stove bricks, grate and baffle plate, the time will come for when the stove rope on your stove needs changing. Last month we covered how to know if your stove rope needs changing. This month, we’ll take a look at how to do just that. Follow along as we go through the process of changing the stove rope on your appliance from start to finish.
Getting the correct rope
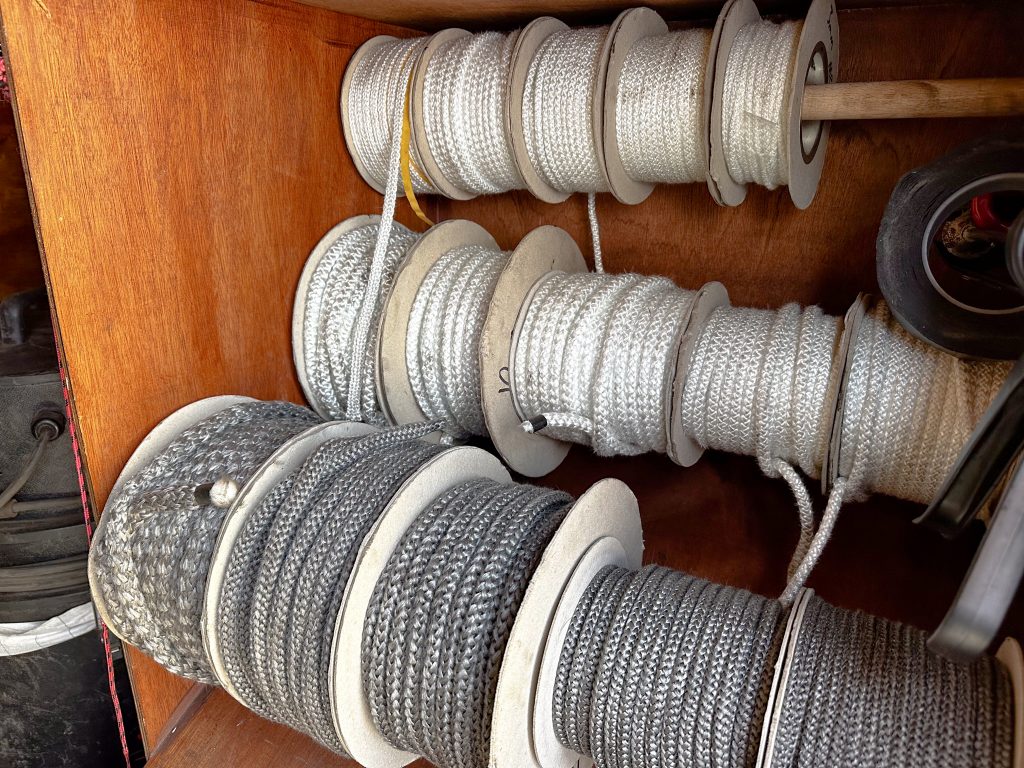
Stove rope is not universal. It comes in many sizes from a tiny 3mm diameter all the way up to 18mm on some larger modern stoves. Not only do you have to make sure your new stove rope matches the same diameter as your old one, it also needs to be the correct tension. Ceramic stove rope comes in two ‘types’, standard and soft.
To make sure you have the correct stove rope to replace your old seal, check your stove manual to find out which size and type you need. If you no longer have your stove manual, you can remove a section of your stove rope (Preferably a part that is still in ok condition) and measure it. You can then compress it between your fingers and use the photo above to work out if it is a standard or soft rope.
- Standard rope is a tighter weave that feels similar to squeezing your own finger
- Soft rope is a much looser weave that feels a little like squeezing a marshmallow.
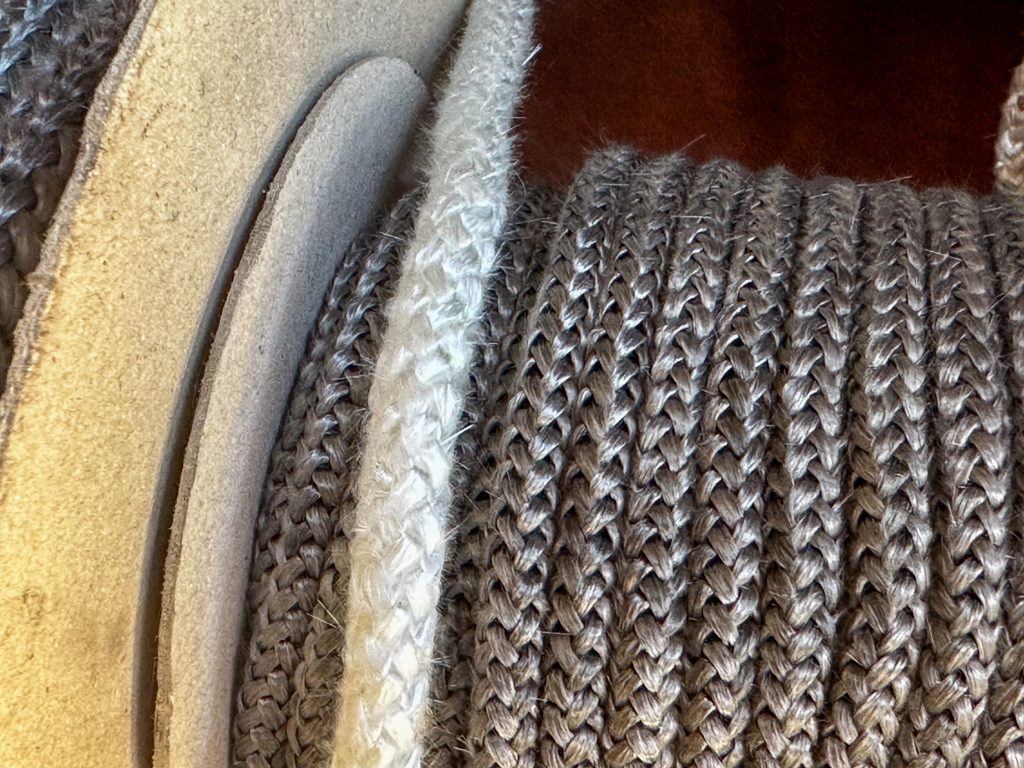
The picture above shows standard weave in white and soft weave in grey but please note that weaves are not always the same colour – Best to check with the squeeze test!
Tools you will need
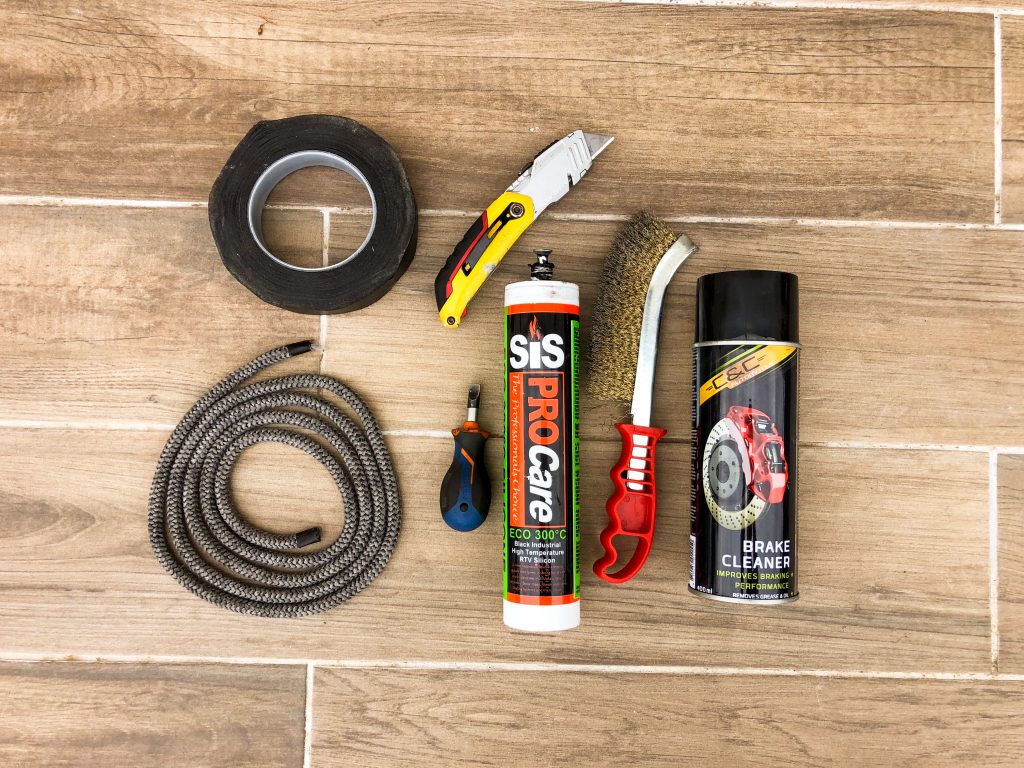
Changing a stove rope is a very simple task that doesn’t require much in the way of equipment. Other than your new stove rope you are about to install, you will also need:
- High temperature resistant silicone to glue the rope to the door
- A wire brush to remove the existing glue from the door
- A screwdriver to tease the end of the old stove rope up and off the door
- (Optional) break cleaner to help break down and remove the old glue
- (Optional but highly recommended) Heat resistant stove rope tape to secure the end of the stove rope from fraying
- A pair of scissors or sharp knife to cut your new rope to length.
Step by step
Open your stove door and if possible, lift off the hinges and set down. If your door does not easily detach from the stove, you can complete this process whilst the door remains on the stove.
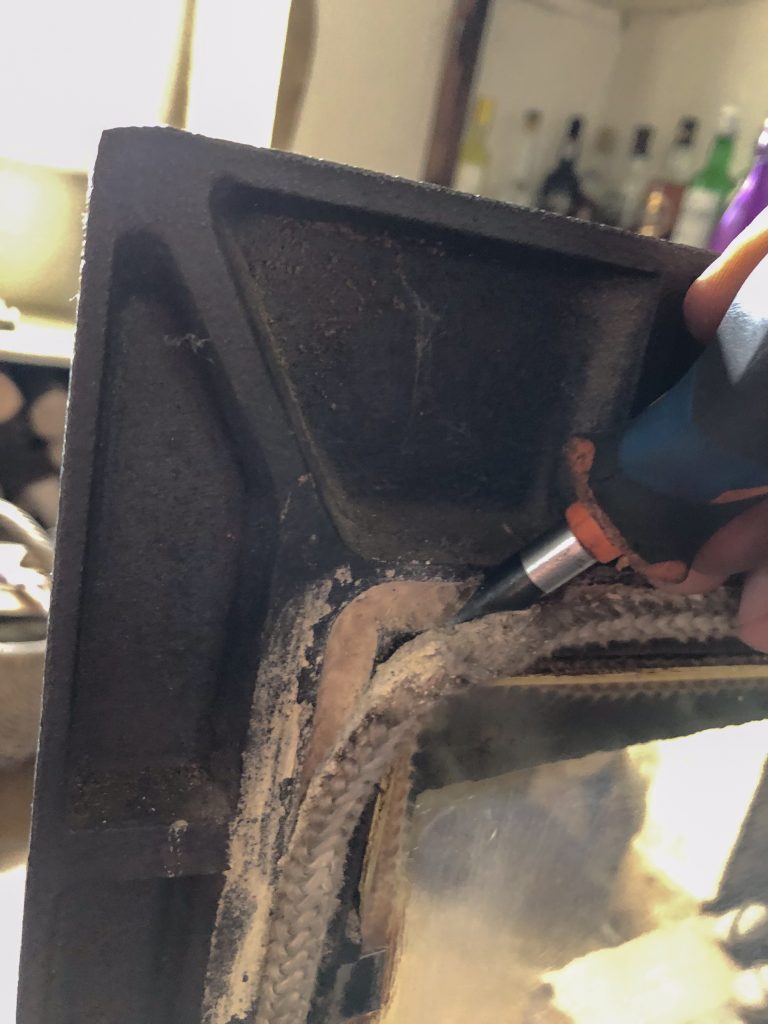
Using the screwdriver, tease the old stove rope off the door and remove the entire length.
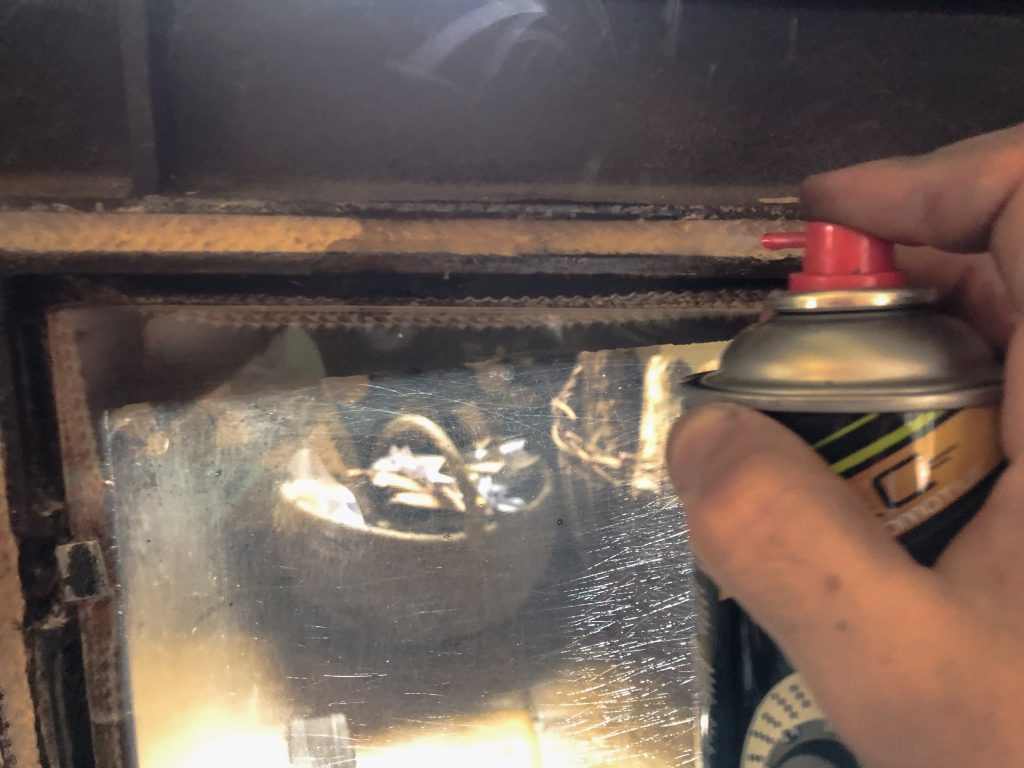
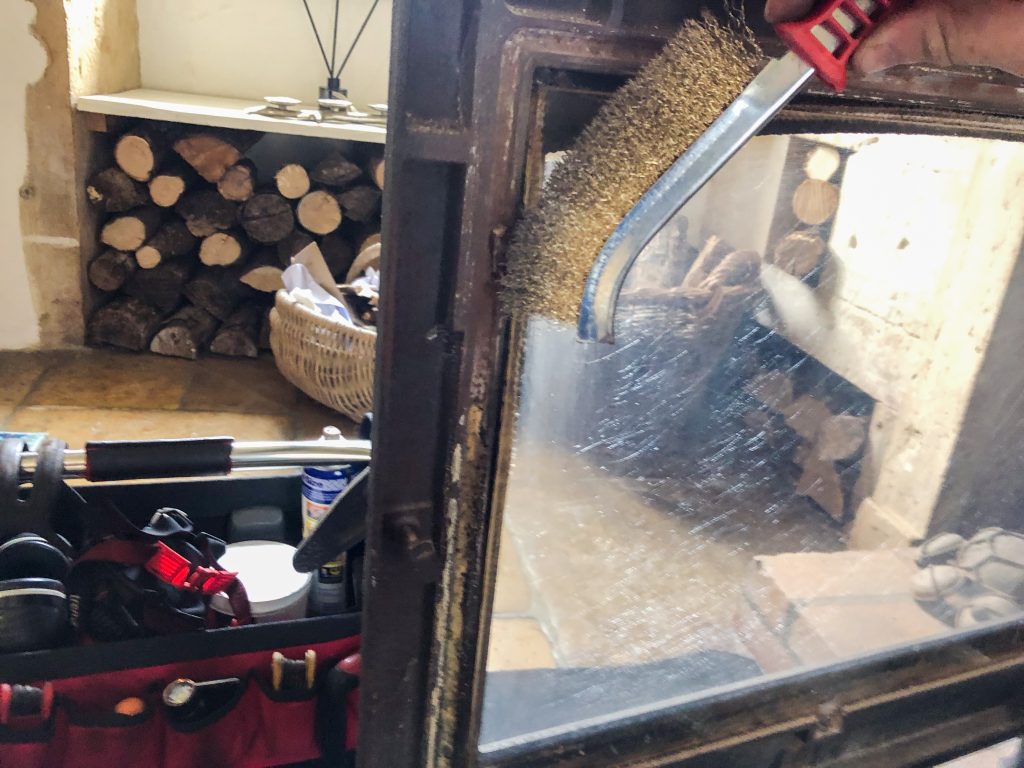
Spray your break cleaner solution over the stove rope recess to help break down the existing glue and use a wire brush to scrub it away until it is completely gone.
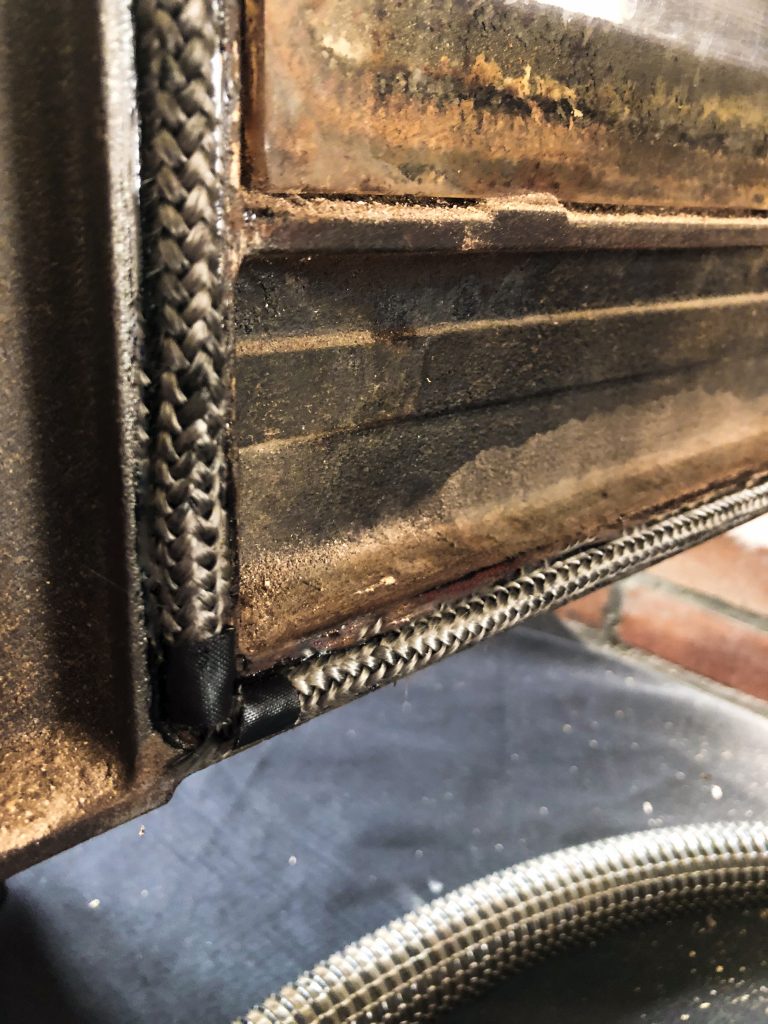
Take your new stove rope and lay in in the channel gently, without stretching or compressing it to gauge what length of rope you will need.
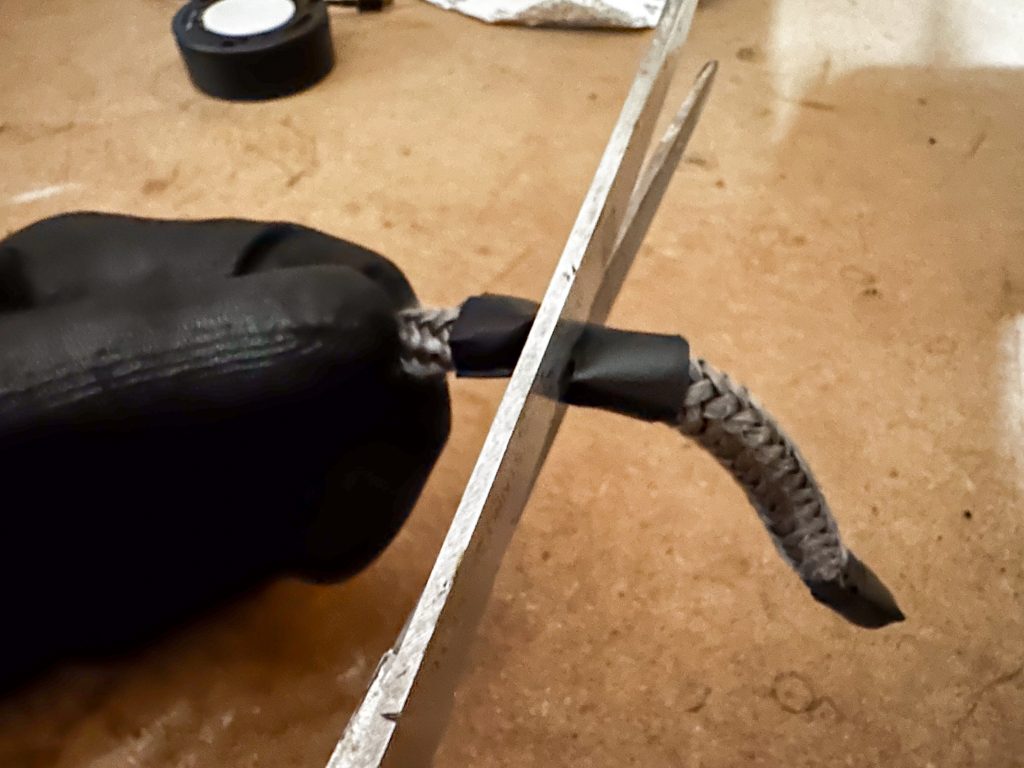
Tape where the end of your stove rope will be. Make sure your tape overlaps the edge of your length of rope and cut through the tape to get a nice clean edge.
Remove your stove rope from the recess and squeeze a small bead of heat resistant silicone into the channel along the entire length.
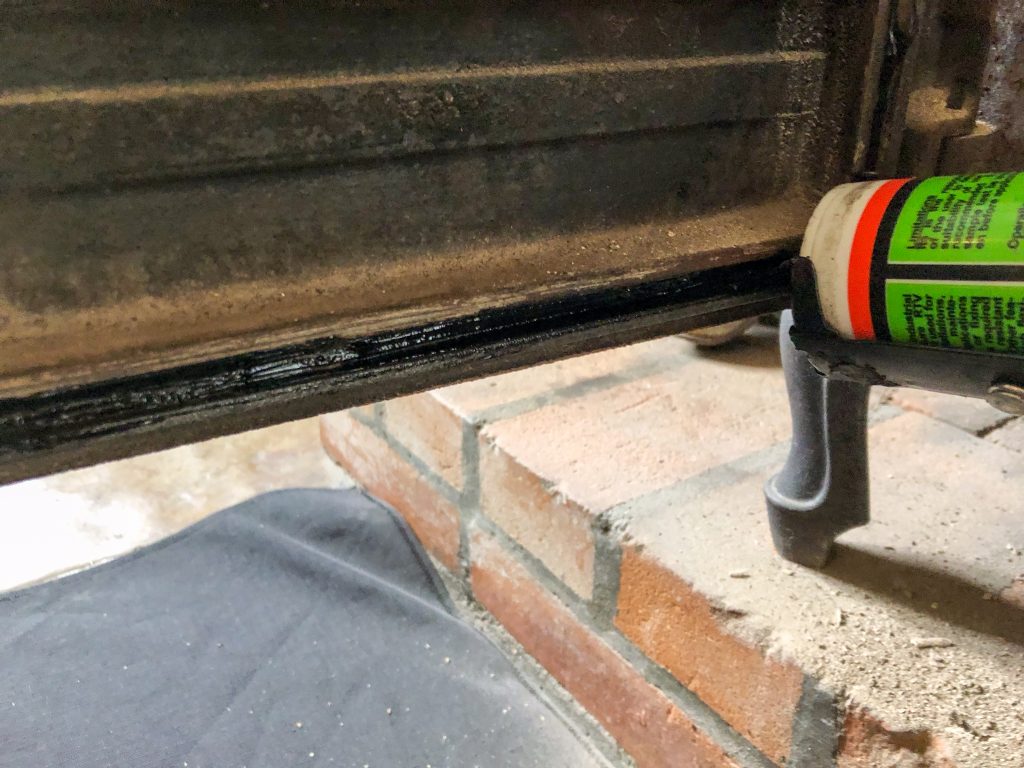
Take your length of stove rope and push it into the rope channel and clean any excess glue that may have squeezed out of the recess, onto the door frame.
Place your door back on the stove and check that the door closes. (Depending on your stove, you may have to adjust the door latch).
Remember
You must wait for your silicone to cure. Depending on the product used, this could take anywhere from 16-48 hours. If you light your fire whilst the silicone is still curing, the accelerated drying process (Due to excess heat) can cause the silicone to harden and lose its ability to compress and stick. This will cause your stove rope to fall off the door and you will need to start the whole process again! For this reason, we recommended you carry out rope changes and other stove maintenance before the cold weather sets in, whilst your woodburner is taking a well-earned break from keeping you warm in the winter.