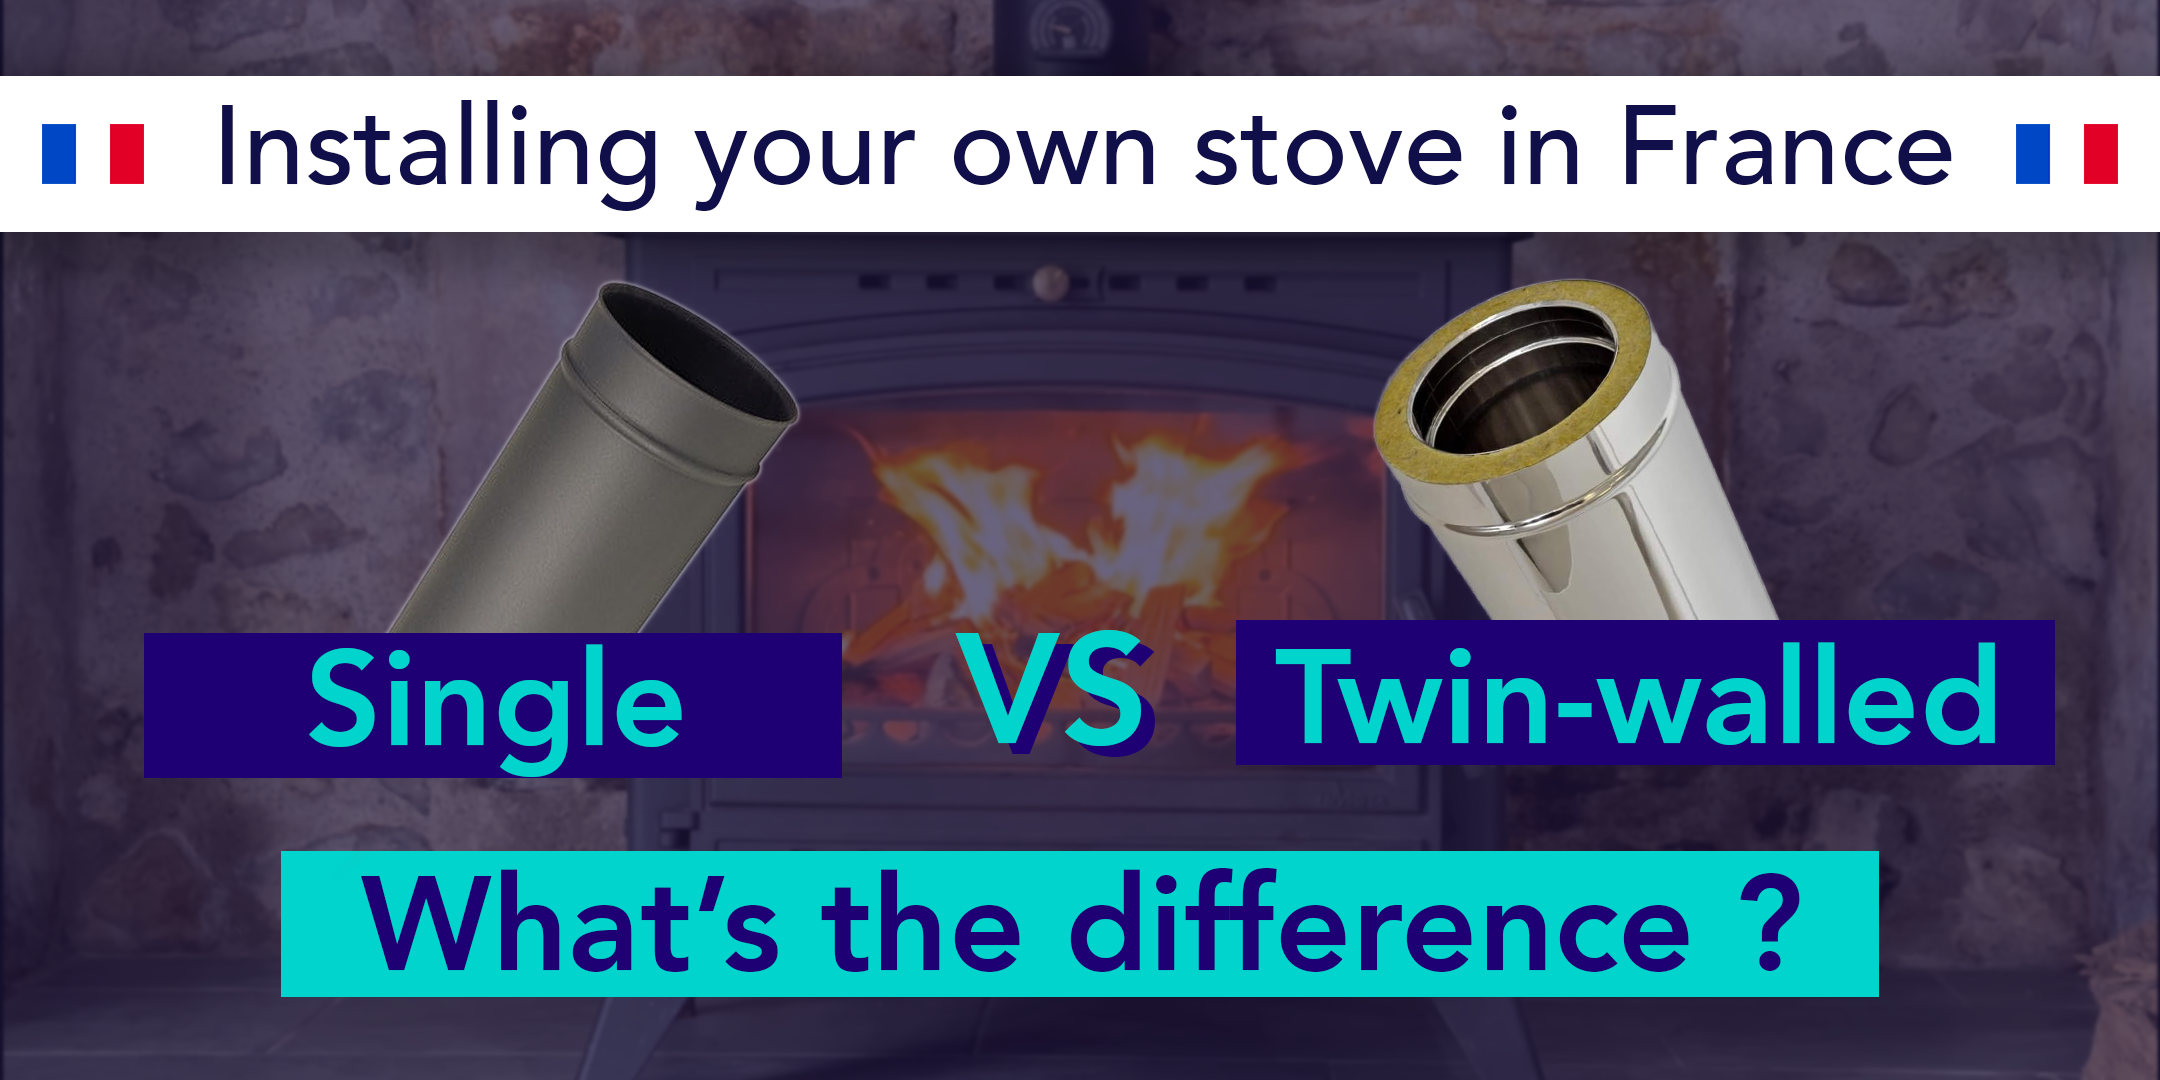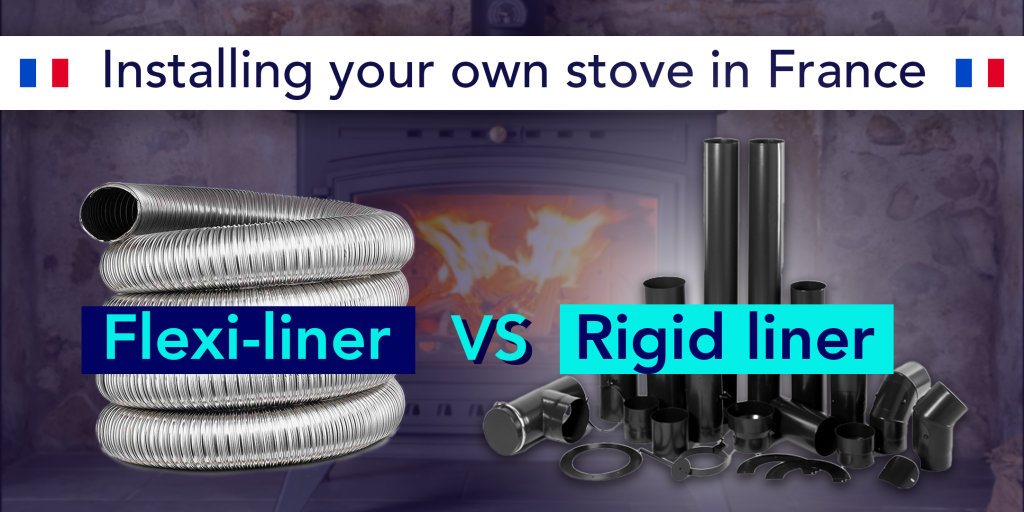
Every joint in the chimney system has the potential to fail. From this one sentence alone, it is clear to see the advantage of installing a single length of flexi liner as opposed to multiple 1m long sections of rigid liner along the entire length of the chimney. Quite simply, the aim when designing any chimney system should be to reduce both the number of joints and any offset angles away from true vertical. We have already discussed not using 90-degree bends and not exceeding an offset of more than 45 degrees, thus reducing the angles (you can read more about that here). Now, let us take a closer look at joint reduction.
It will come as no surprise that the way to reduce the number of joints in the chimney is to minimise the number of parts that need connecting together. Common sense would suggest that the best method would be to connect one single length of flexi liner from the stove to the top of the chimney and call it done. So, why don’t we do this?
Well, firstly, it would look horrible. Of course, aesthetics are subjective, and if you live in an industrially designed home, this method of installation may fit right in. However, for the rest of us, the shiny appearance of a greasy chrome stainless steel (SS) flexi liner is not something many would want to gaze at every day. The real reason we connect the stove to a rigid flue pipe is, of course, technical. SS flexi liners are around 0.7mm in thickness, whereas rigid liners are at least 1mm thick. This difference in thickness allows the connecting flue pipe to withstand the higher flue gas temperatures venting directly from the appliance. Ideally, the connecting flue pipe should be made of vitreous enamel, as steel rigid flue pipes can and often do fail and need replacing long before their enamel counterparts.
Once above the closure plate and surrounded by masonry from the existing brick/stone chimney, the rigid liner should be connected to a single length of flexi liner via an appropriate adapter. This flexi liner runs the entire length of the chimney and is connected at the top. Flexi liners have the added advantage of being able to traverse any offsets in the existing chimney without the need for rigid elbow bends (and thus, more joints). As long as the connections to the chimney top and the rigid/flexi adapter are secure, the chance of failure is minimal.
With a flexi liner installed, an average 8m chimney system would encompass only 4 joints:
- From the stove outlet to the vitreous enamel pipe, traversing through a closure plate.
- From the enamel pipe to the rigid/flexi adapter.
- From the adapter to the flexi liner.
- From the flexi liner to the chimney top.
On the other hand, using multiple sections of 1m long rigid flue pipe would result in more than double the number of joints:
- From the stove outlet to the vitreous enamel flue pipe, traversing through a closure plate (the first meter of rigid liner).
- From the enamel flue pipe to the second meter of rigid liner.
- From the second meter of liner to the third.
- From the third to the fourth.
- From the fourth to the fifth.
- From the fifth to the sixth.
- From the sixth to the seventh.
- From the seventh to the eighth.
- From the eighth to the chimney top.
Considering that our goal is to minimize the number of joints in a chimney system due to their potential for failure, it’s no wonder that flexi liners exist and are used every day in the design and construction